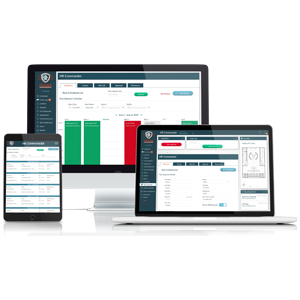
The module previously known as Tour Confirmation has acquired new and improved features, making it a must-have for standard operating procedures. Guard Tour pairs well with other modules for a customized dashboard, while it can also be utilized as a stand-alone module, giving your team improved security analytics and workflow.
Let's dive into what's new.
1. Geofencing is now managed by the user. Set unique geofencing distances at each facility.
Some facility's checkpoints may acceptable to execute from a vehicle while others may need a closer inspection in person. Set custom geofencing distances to ensure your staff is engaged in accurate and detailed work. Mark each facility with a custom radial distance. The default setting for each is 300 feet.
2. Set up tour routes to create a natural flow for checkpoints.
.png?width=288&height=695&name=Tour%20Confirmation-%20Mobile-%20Routes-%20For%20Andee%20(2).png)
Guards can now get clear, concise directives for their optimal route. (No guesswork!) Use your time and budget efficiently by managing the best route needed for the job. Field staff can simply follow the checkpoints in the order they are set up. Utilize the tab 'ROUTES' under Guard Tour to easily order the sequence.
3. Administrators can view all routes at a glance. Employees will only view the guard tours they have been assigned.
Keep staff assignments simple and uncluttered by only giving them access to the checkpoints for which they are assigned. Accountability is key. Administrators, directors, and managers are able to see all the routes assigned and the progress made in real-time.
4. Assign a guard tour to a specific employee or a department. Additionally, assign a tour to a morning or evening staff.
Remember the old commercial 'set and forget it'? Taking the time to set an optimal route only needs to happen once, simply assign the route to the field staff responsible. Are different people or shifts required to execute this route? Assign the route to a department.
5. Checkpoints are organized by facility.
Routes are the new term for 'facility location'. Utilizing checkpoints in each route will make understanding checkpoint assignments flow seamlessly. Checkpoints still may contain unlimited unique post orders, such as a required photo, short answer box, or radio button questionnaire.
6. Click on 'Routes' in the mobile app or utilize the native map app on your smartphone.
There are multiple ways to see the sequence of checkpoints.
7. View the Status Table to see the full status of checkpoints and their post orders.
Track your progress by viewing the status table. Import for a quick and easy report.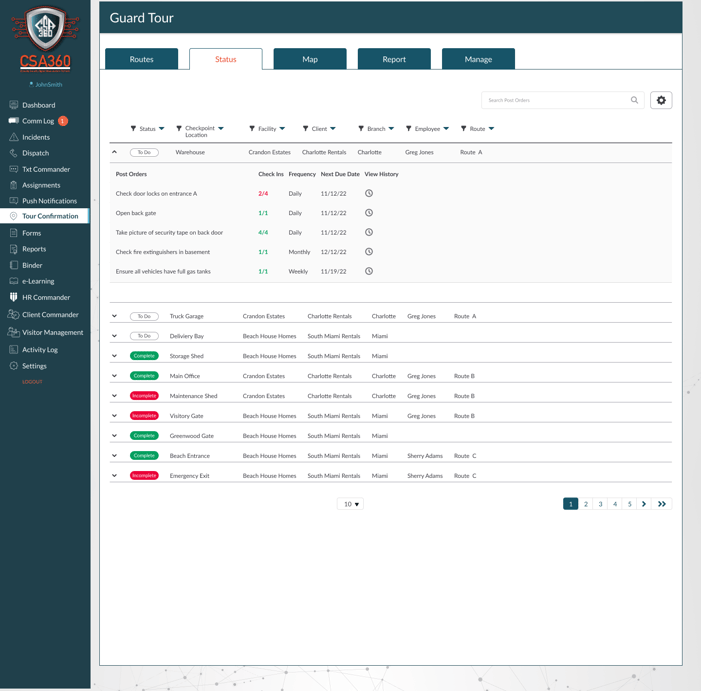
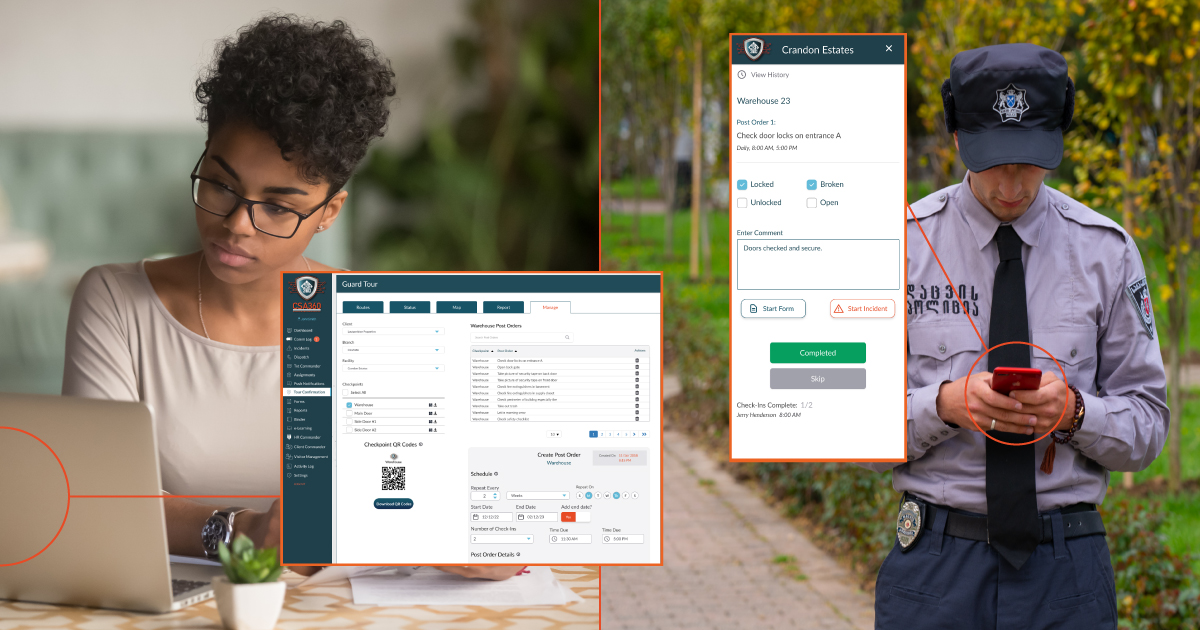
8. Use QR codes in basements or large facilities where service is spotty.
No service? No problem! Some checkpoints are in dead zones, utilizing a QR code at these checkpoints will serve as an equally easy way to validate and document route execution.
9. Filter by Client, Branch, and Facility.
With all modules in CSA360 Software, locating the information you need to review and report on is critical. Filter information in Guard Tour by client, branch, and facility to distill a live report of the information you're ready to analyze.
.png?width=298&height=240&name=CSA360%20Software%20Logo%20(1).png)
CSA360 Software is dedicated to client success. Please contact our Director of Implementation and Client Services if you currently utilize this module and would like to request a white-glove online training for your team.